Advanced menu
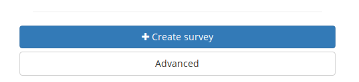
Occasionally in Camelot you may find “Advanced” buttons, like this one in the Surveys menu:
You might want an Advanced menu should you find an unusual scenario arise, and you find yourself needing to bypass the usual workflows. For example, when attending to a trap station, it is found that the cameras between it and a nearby trap station had been mixed up. As there are many unusual scenarios just like this, Camelot caters for them with a series screens which give fine-grained control over the data.
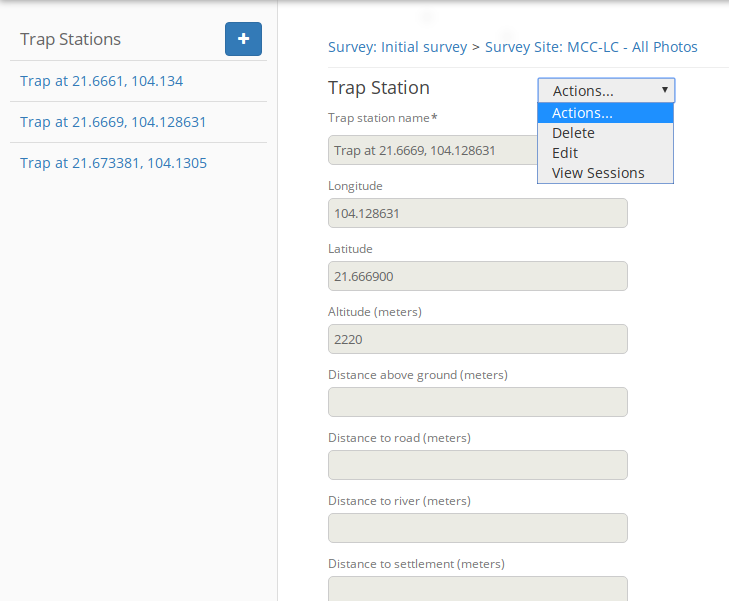
An advanced menu screen is specific to one type of data. In the above, the screen is specific to Trap Stations. All advanced menus follow the same pattern:
- On the left is the Sidebar. The sidebar shows you a list of entries. This list contains everything Camelot knows about that type of data (for example, everything Camelot knows about Trap Stations). You can click on an item in the sidebar to view it, or use the “+” button at the top to create a new entry.
- While viewing an entry, you can see a drop down menu which provides a series of Actions. This dropdown is very important when working in the advanced mode, and nearly all operations in the advanced mode use this menu, including navigation! In the above example, this dropdown menu it allows for Deleting the selected entry, Editing it, and Viewing its associated Sessions.
Example usage
Coming back to the example given earlier on when and where to use the Advanced menus: we’ve just realised that the cameras assigned two trap station (sessions) have been mixed up!
Here’s a step-by-step process on how you might go about fixing that:
- Organisation -> Cameras -> Create a new camera called “Temporary”.
- Access the Advanced menu for Problem Trap Station 1: Organisations -> Surveys -> MySurvey -> Manage Camera Trap Stations -> MyTrap1 -> Details -> Advanced
- Select the session from the Sidebar where the cameras are known to be wrong
- Actions -> View Cameras
- Select the camera wrongly assigned, then Actions -> Edit
- Set the Camera to “Temporary”, as we created earlier
- Access the Advanced menu for Problem Trap Station 2: Manage Camera Trap Stations -> MyTrap2 -> Details -> Advanced
- Now we repeat the process: select the session, Actions -> View Cameras, select the wrongly assigned camera, Actions -> Edit
- Assign the camera we unassigned from Problem Trap Station 1.
- And we repeat the process again: select the session, Actions -> View Cameras, select the wrongly assigned camera, Actions -> Edit
- Assign the camera unassigned from Problem Trap Station 2 to complete the swap.
- Finally, Organisation -> Cameras -> Remove “Temporary” to clean up the temporary camera.